INGREDIENTS
3 cups chopped strawberries
1 generous cup of blackberries
3/4 cup of sugar
generous splash of balsamic vinegar (we chose fig balsamic!)
a tablespoon of fresh lemon juice
When we talk about jam, we usually talk about canning jam. Jam is, after all, about preserving fresh fruit for some nebulous later date, but does it have to be? Of course, it doesn’t. Great jam can be eaten right away. You don’t even have to consider canning it, as fresh jam will last in your refrigerator for two weeks in a properly sealed container. For a lot of home chefs, jam making is always that seasonal activity when you have a surplus of berries from a trip to the farm stand, but in small batch jam making, you are able to source ingredients by splurging at the grocery store or picking fruit from a backyard bush. Our recipe makes two jars from two standard containers of berries, which is enough jam for you and a friend.
Small batch jam making also lets you try out new recipes and ingredients without committing to a season of a particular jam. Make it as a mood strikes you, like for a particular meal or dish, and you can change it up throughout the year without ever having to settle on the same spreadable accompaniment.
If you are interested in preserving this jam for long-term consumption, please follow the directions on the appropriate jars and lids.
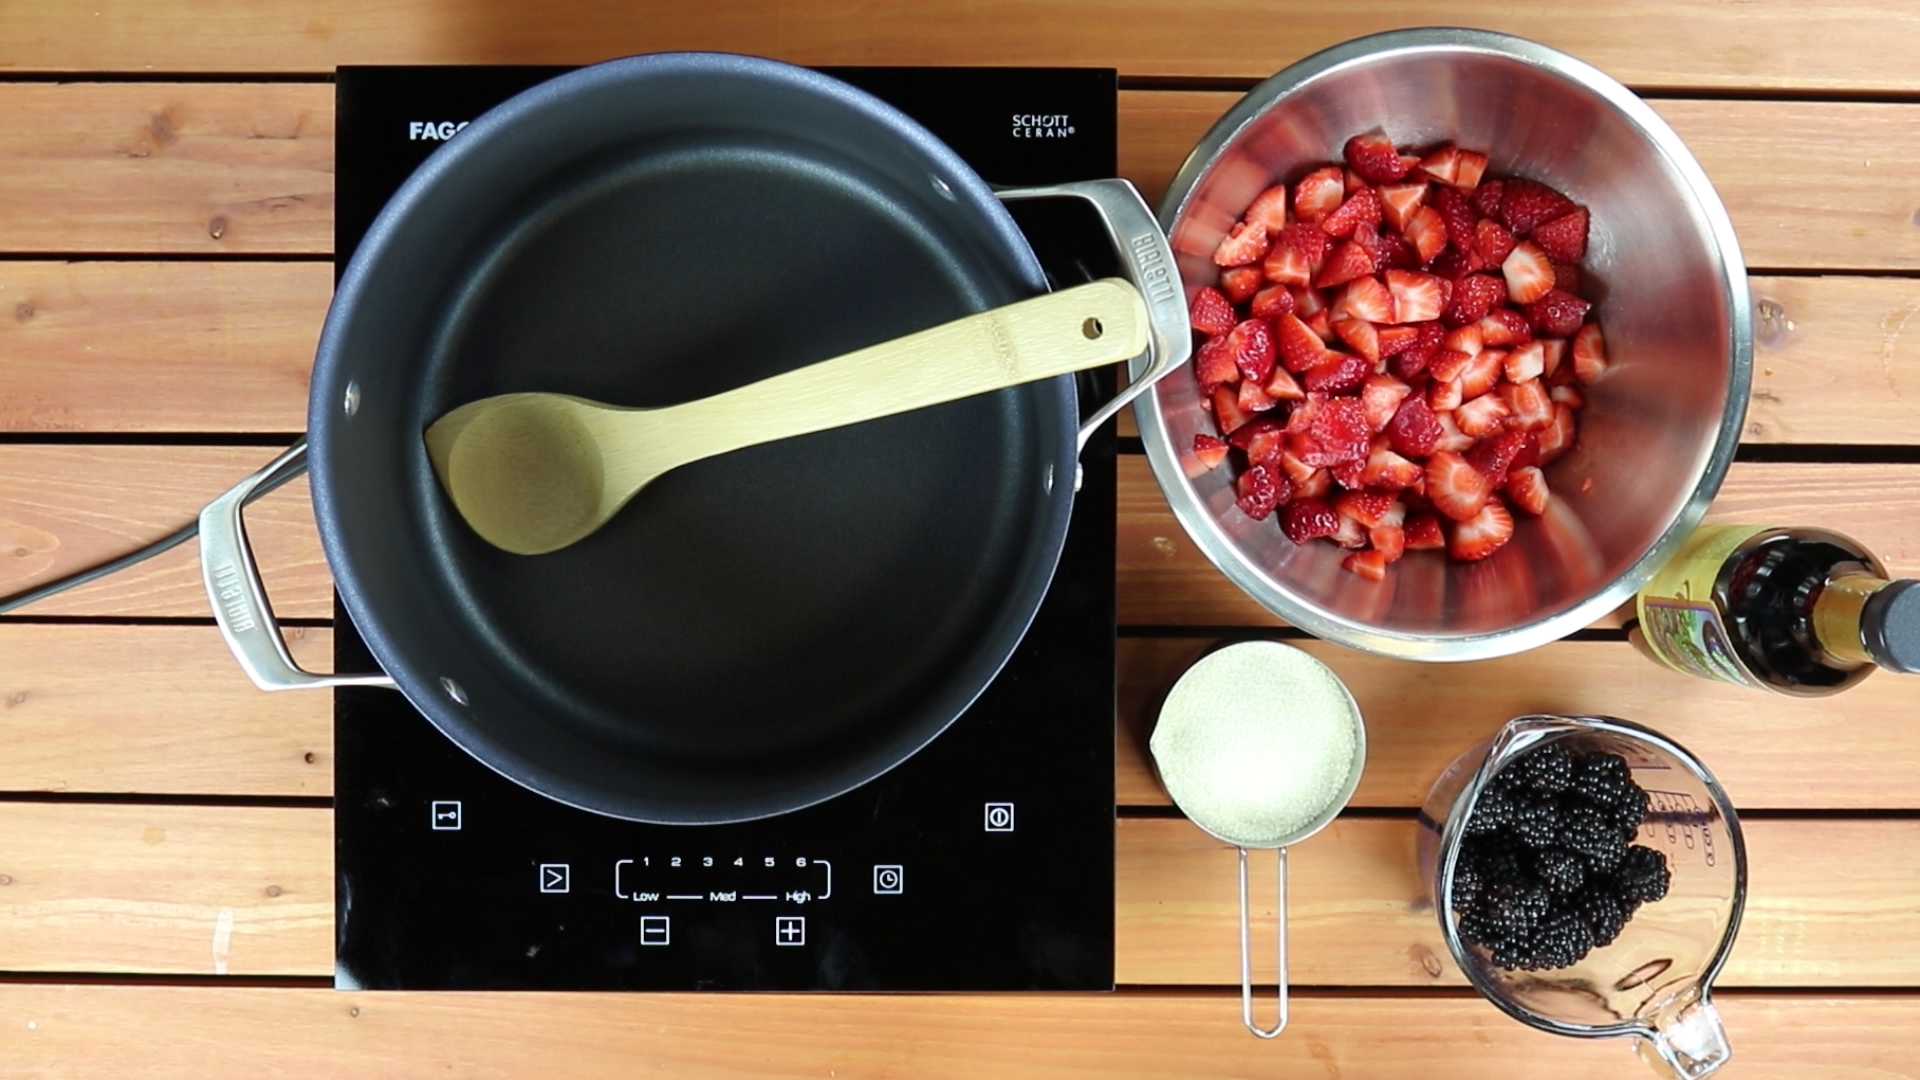
Step One: Combine the strawberries, blackberries, sugar and balsamic vinegar
In a pot over medium-high heat, combine the chopped strawberries, blackberries, sugar and balsamic vinegar. Bring to a boil.
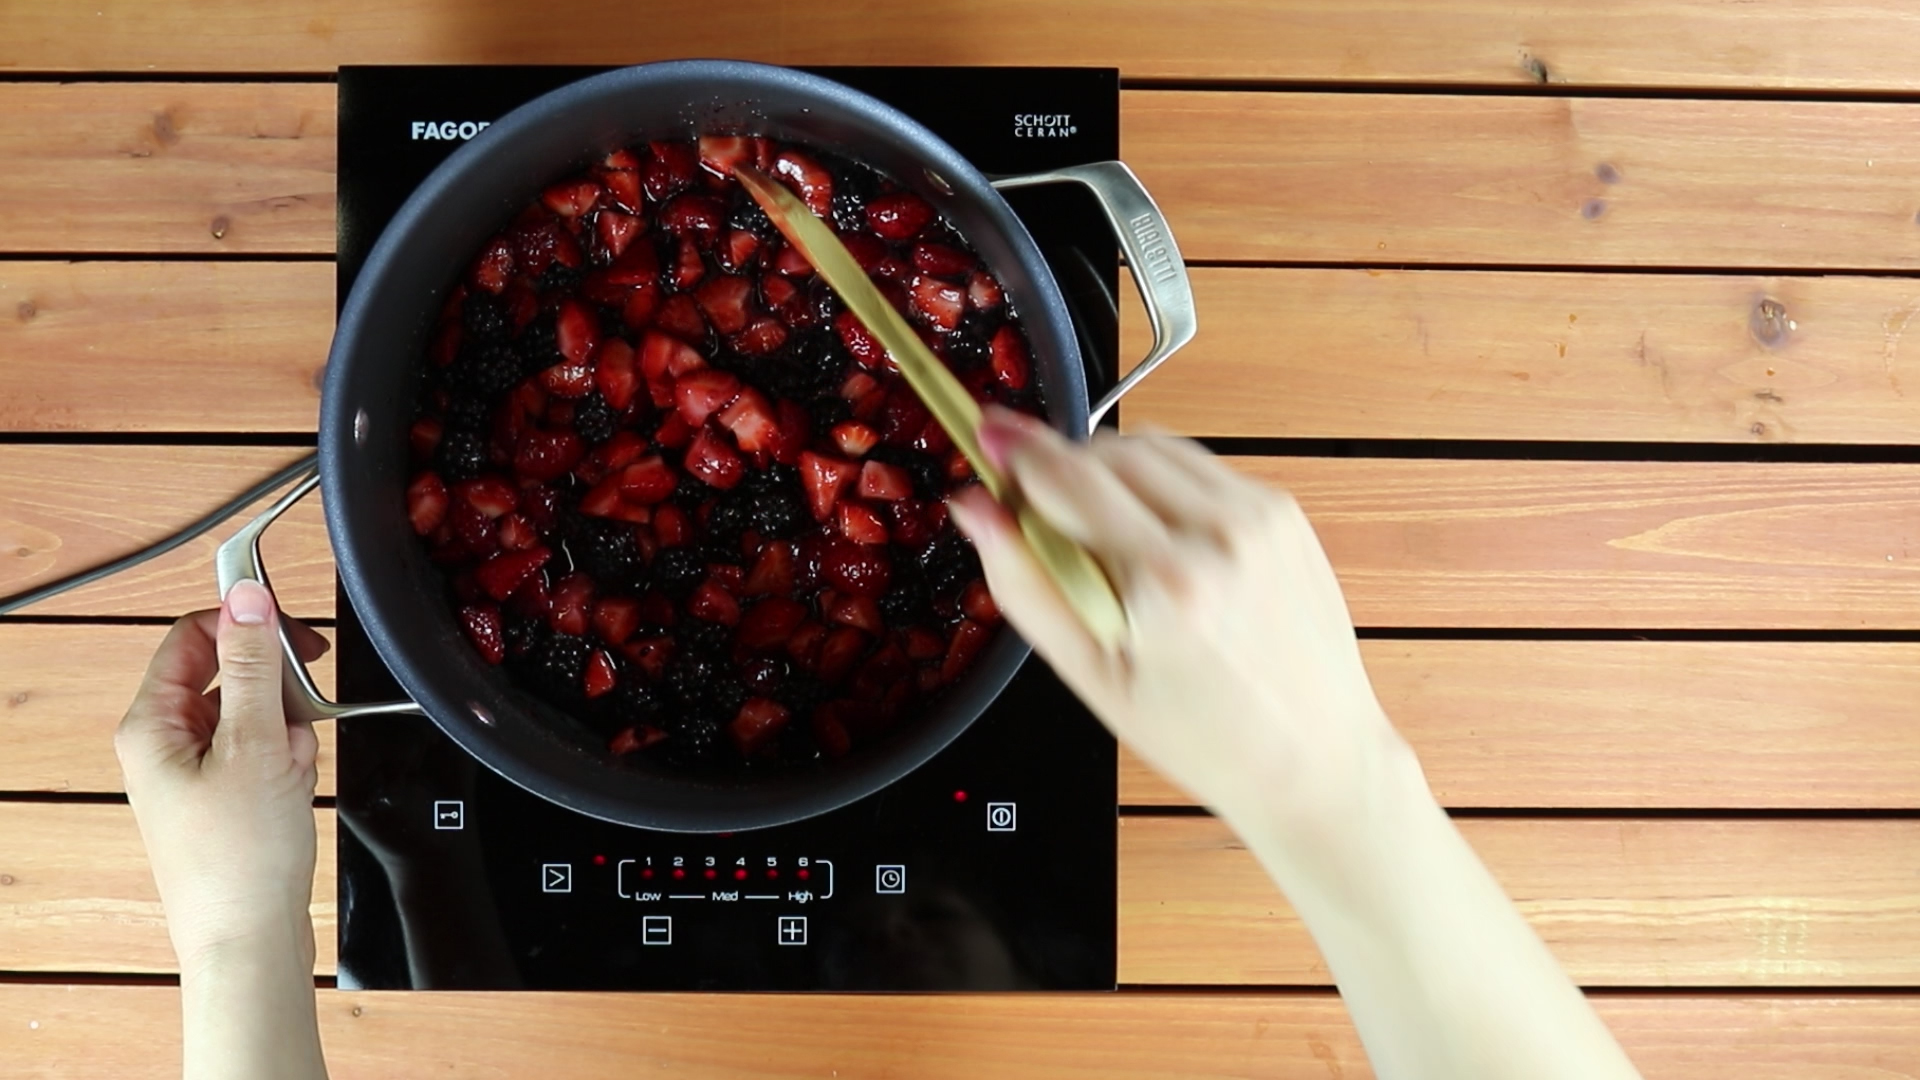
Step Two: Boil and stir
Boil vigorously, stirring frequently to prevent sticking.
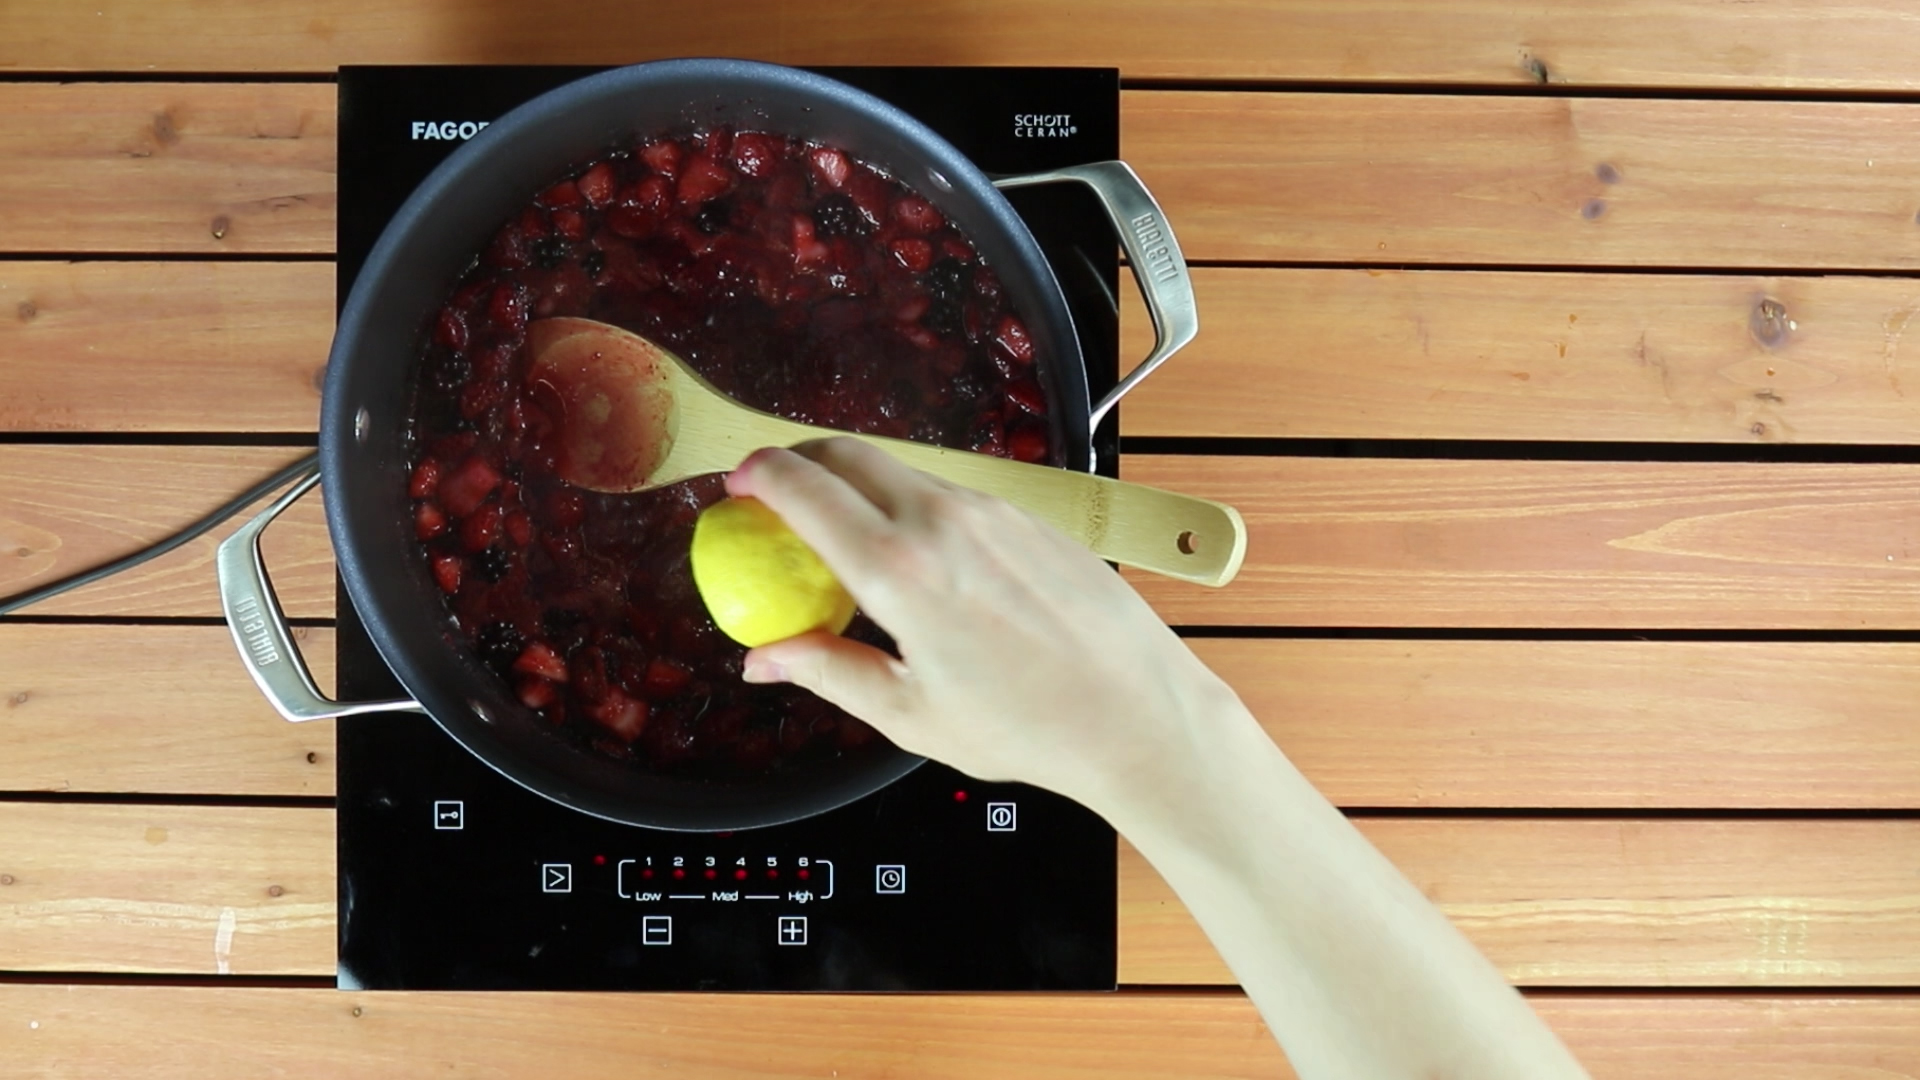
Step Three. Add lemon juice
As the fruit breaks down and the sugar dissolves, add one tablespoon of fresh lemon juice. We used the juice from half of a lemon, and if you use fresh-squeezed lemon juice, make sure not to drop seeds into the jam. Seeds are the worst!
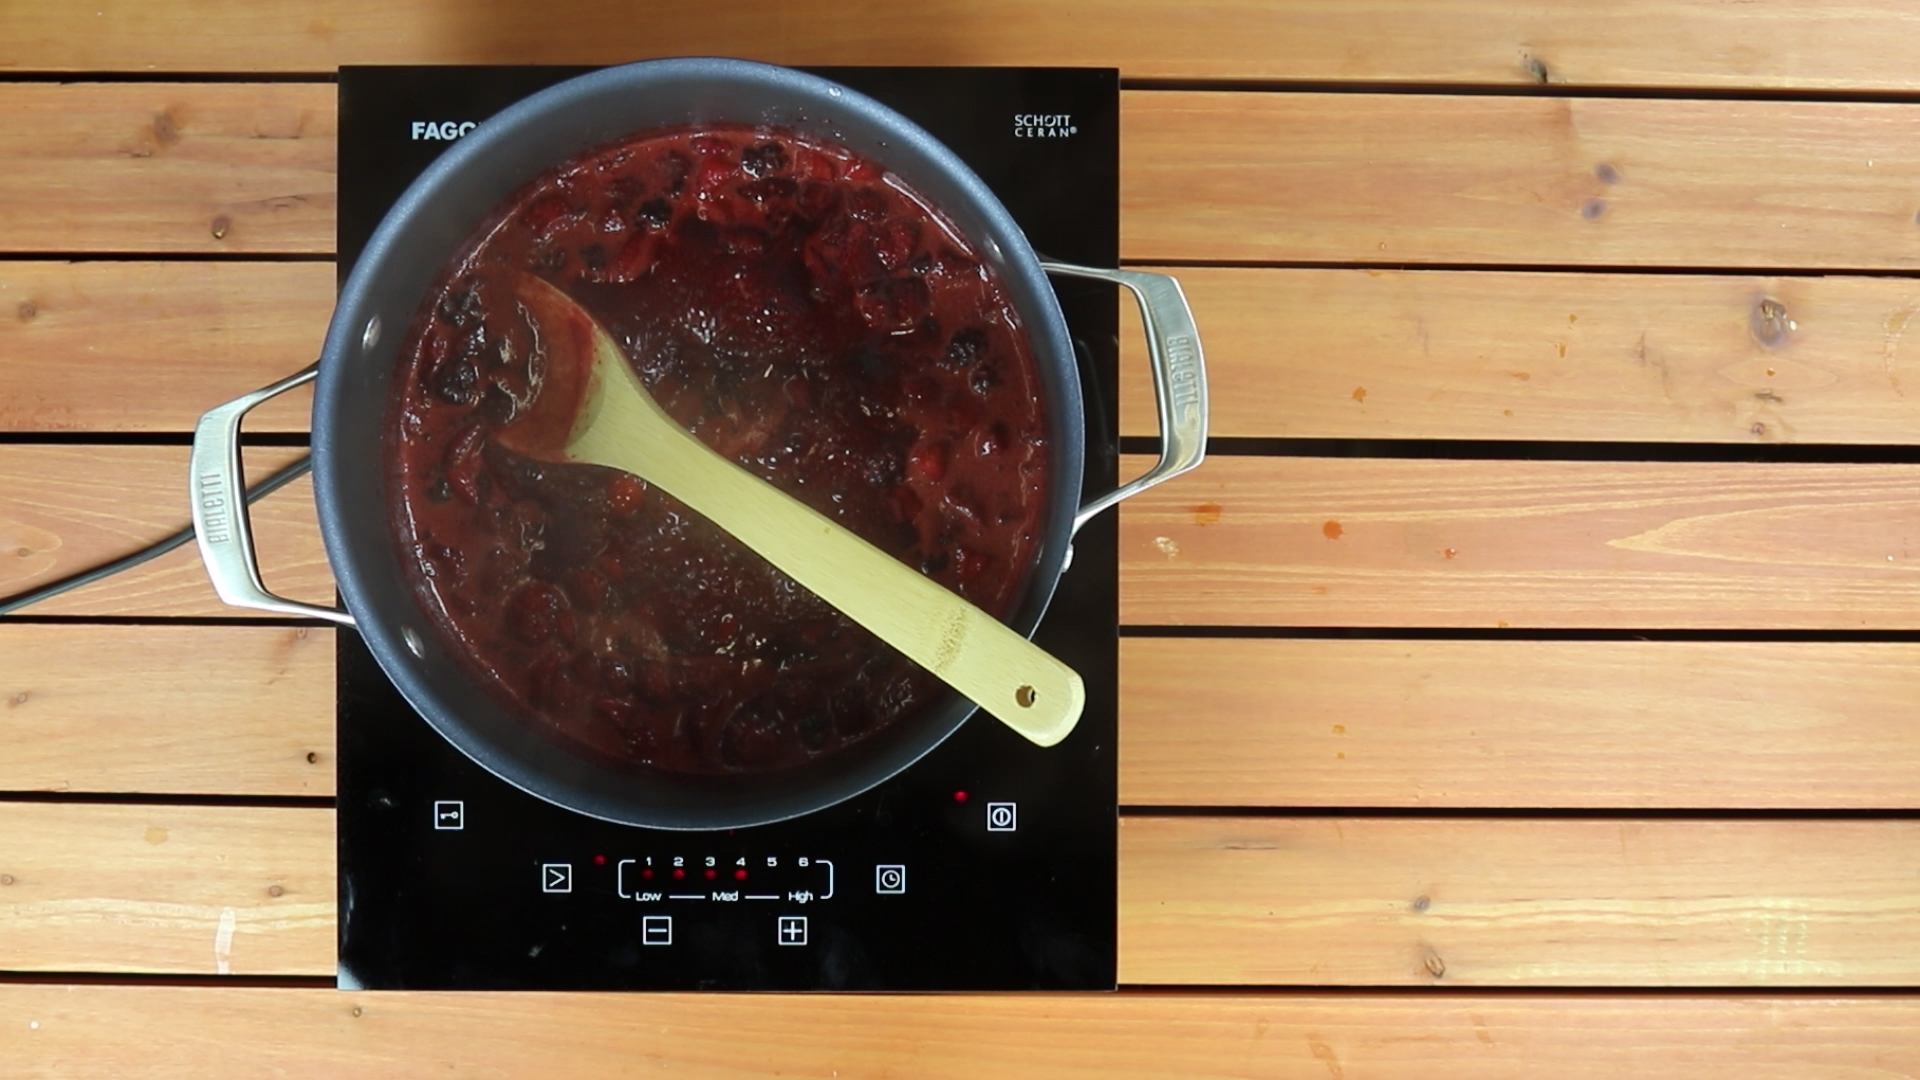
Step Four. Continue to boil and stir
Continue to stir. The longer the jam boils, the more water will be cooked out, and you will be left with a more gelled preserve. We allowed ours to boil for twenty minutes before taking it off of the heat. You do not want your jam to cool at this point, as it will become gummier and more difficult to jar.
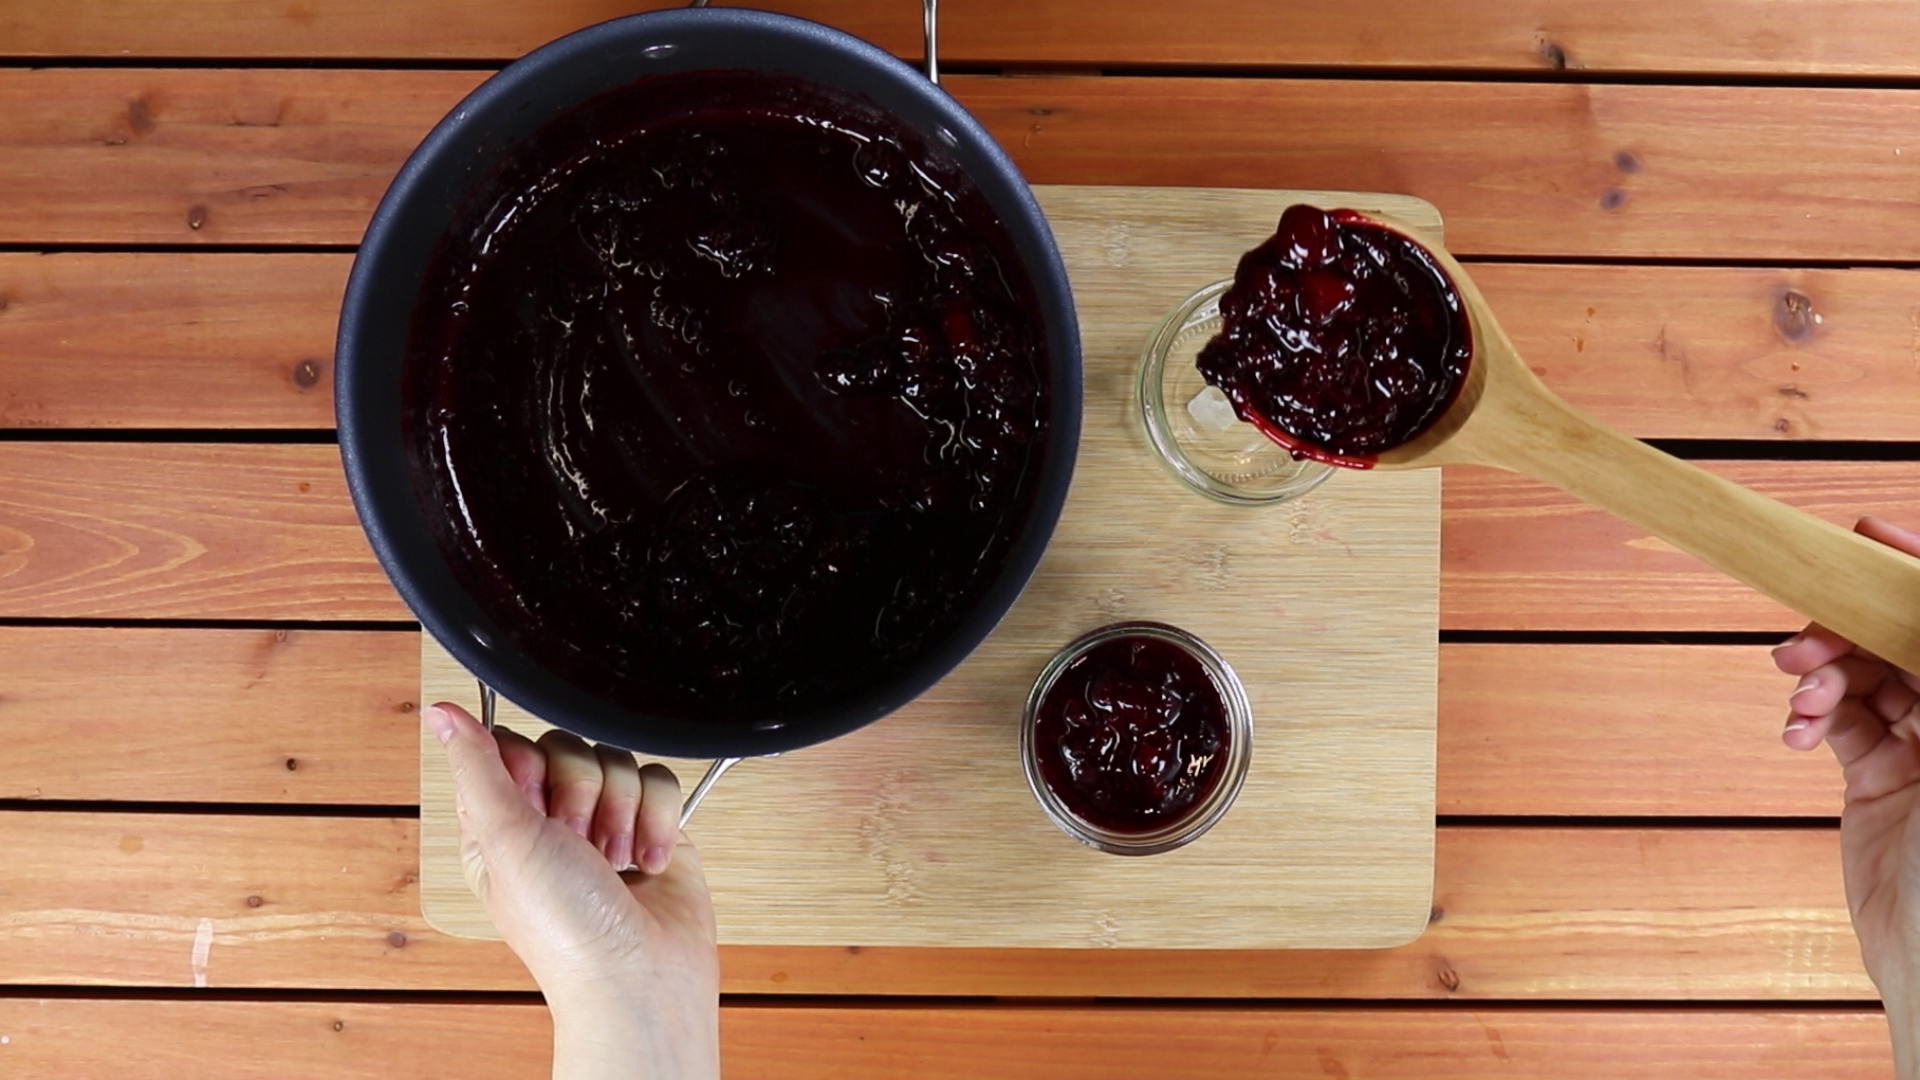
Step Five. Bottle the jam
Since we aren’t preserving our jam for long-term storage, the jam pots only need to be clean, not sterilized. Once they have been washed and dried, ladle in the cool jam and seal with the orange caps.
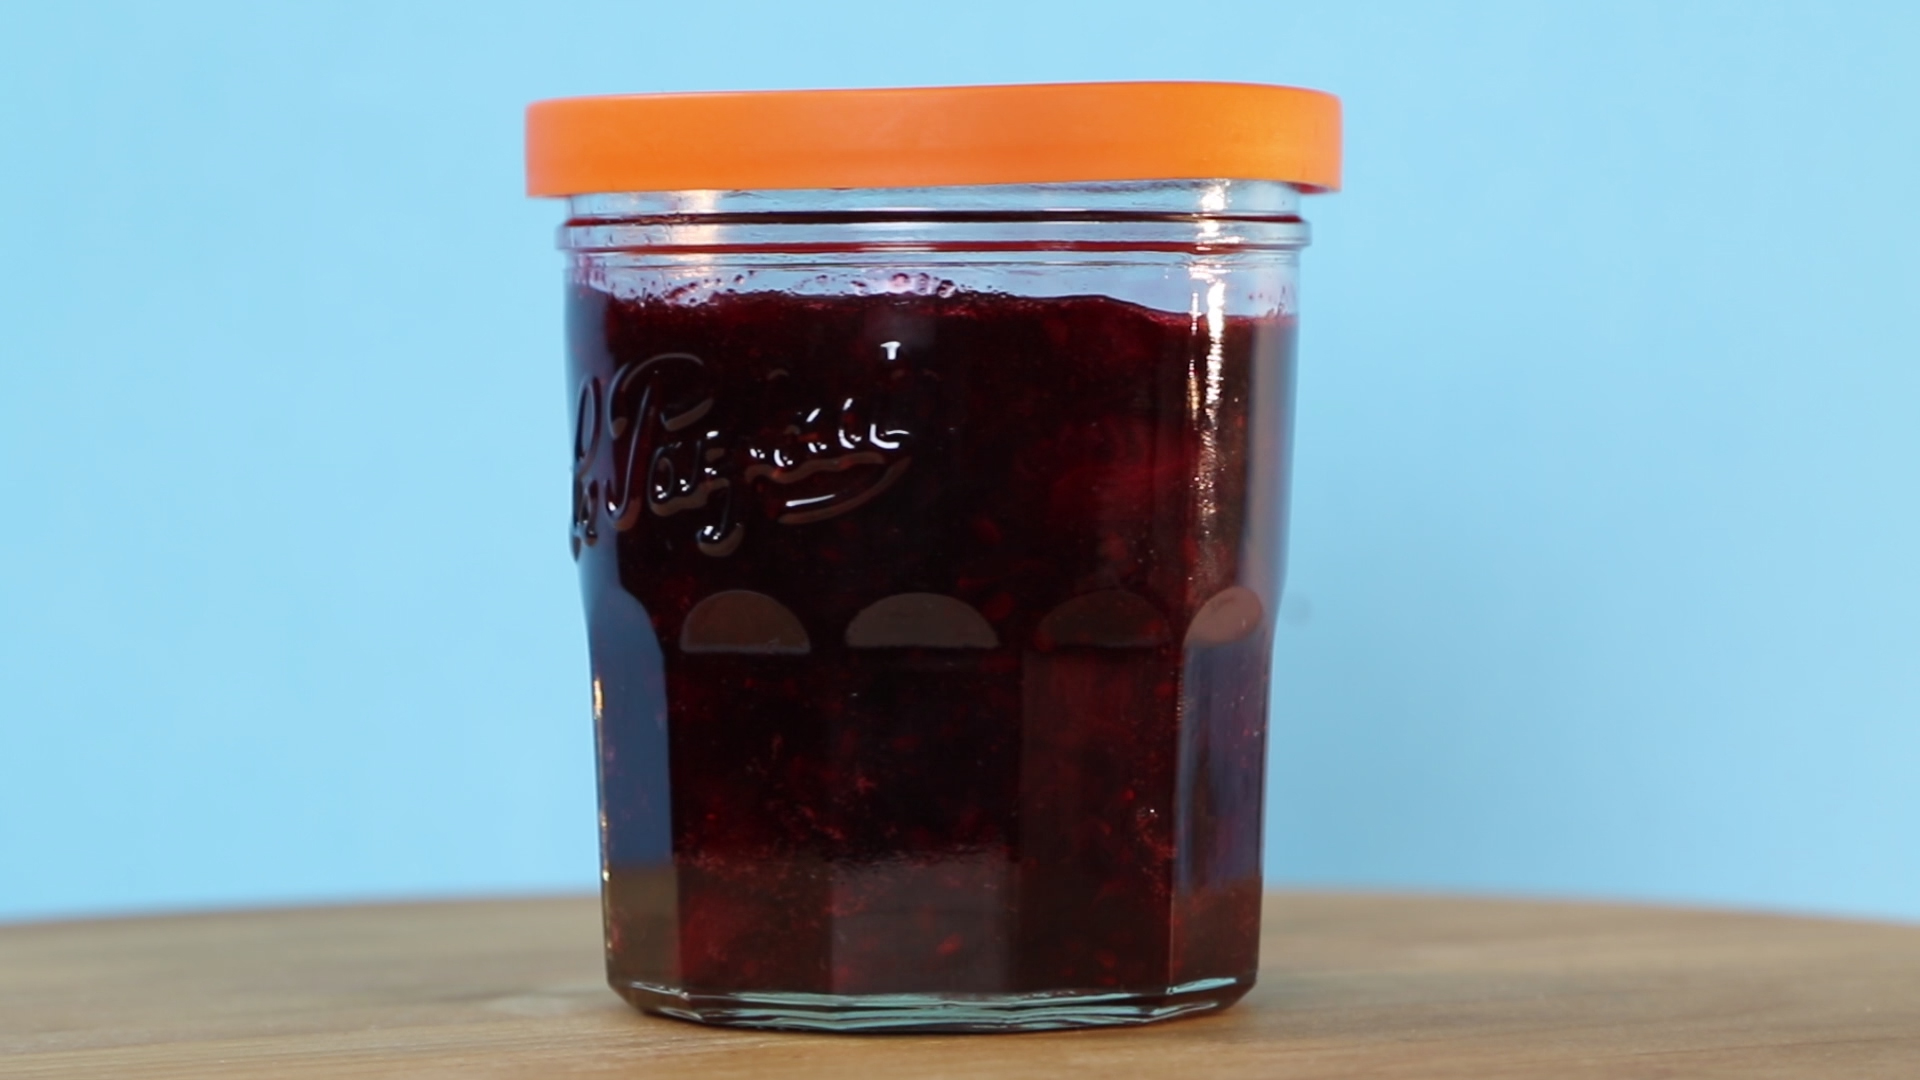
What will you do when you run out of jam?
The jam will keep for about two weeks in the refrigerator, if you still have any left by that point, which you probably won’t. Classically delicious with peanut butter on a sandwich, add the jam to sauces for a burst of a flavor, mix it into cocktails for a surprising twist or use it to make ice cream more special.
For your next jar, try mixing chopped peaches with ginger or fresh figs and a little honey. You can add fresh herbs or dried spices to further develop the flavor. When making refrigerator jam, you’re working in such small quantities that you can take risks without having a dozen jars to finish up or give away, so take a risk with plum and grapefruit zest or ripe boysenberry. Your palate will thank you.
